


Hey there! If you're looking to add a touch of cool and vibrant lighting to your door frame, installing an RGBW neon strip is an awesome way to go. As a supplier of RGBW Neon Strips, I'm here to walk you through the whole process.
Why Choose an RGBW Neon Strip?
Before we jump into the installation part, let's quickly talk about why an RGBW neon strip is a great choice. RGBW stands for Red, Green, Blue, and White. This means you get a wider range of colors to play with compared to regular RGB strips. You can create all sorts of cool lighting effects, from soft white for a cozy atmosphere to bright, eye - catching colors for a party vibe.
We offer different types of neon strips, like the RGB Neon Strip, which is great for basic color mixing. If you want more advanced and dynamic lighting, check out our Pixel Neon Strip. And for a more all - around glow, the 360° Round Neon Strip is the way to go.
Tools You'll Need
First things first, gather all the tools you'll need for the installation. You won't need a whole bunch of fancy stuff. Here's a list:
- Measuring Tape: To measure the length of your door frame accurately. You don't want to end up with a strip that's too short or too long.
- Scissors or a Utility Knife: You'll use this to cut the neon strip to the right length. Make sure it's sharp so you can get a clean cut.
- Double - Sided Tape or Adhesive Mounting Clips: These are used to stick the neon strip to the door frame. Double - sided tape is easy to use and works well for most surfaces, but if your door frame is made of something smooth like metal, mounting clips might be a better option.
- Power Supply: You need a suitable power supply for your neon strip. Make sure it has the right voltage and wattage. Check the product specifications of your neon strip to find out what power supply you need.
- Controller: If you want to control the colors and effects of your neon strip, you'll need a controller. Most of our RGBW neon strips come with a remote - controlled controller that's super easy to use.
Step 1: Measure the Door Frame
Start by measuring the length of your door frame. Go around the entire frame, including the top, sides, and bottom. Write down the measurement so you don't forget. It's a good idea to add a few extra inches to your measurement just in case you need a little more length for any bends or curves in the frame.
Step 2: Cut the Neon Strip
Once you have your measurement, it's time to cut the neon strip. Look for the cutting marks on the strip. Most RGBW neon strips have pre - marked cutting points. Use your scissors or utility knife to carefully cut the strip at the appropriate mark. Be careful not to cut through the wires inside the strip.
Step 3: Prepare the Door Frame
Clean the door frame where you're going to install the neon strip. Use a damp cloth to wipe away any dust, dirt, or grease. This will help the double - sided tape or mounting clips stick better. Let the door frame dry completely before moving on to the next step.
Step 4: Attach the Neon Strip
If you're using double - sided tape, peel off the backing from one side of the tape and stick it to the back of the neon strip. Then, carefully peel off the other side of the tape and press the strip onto the door frame. Start at one end of the frame and work your way around, making sure the strip is straight and evenly placed.
If you're using mounting clips, attach the clips to the door frame first. Then, slide the neon strip into the clips. Make sure the strip fits snugly in the clips.
Step 5: Connect the Power Supply
Find the end of the neon strip where the wires are exposed. Connect the wires to the corresponding ports on the power supply. Make sure the positive and negative wires are connected correctly. If you're not sure which is which, refer to the product manual.

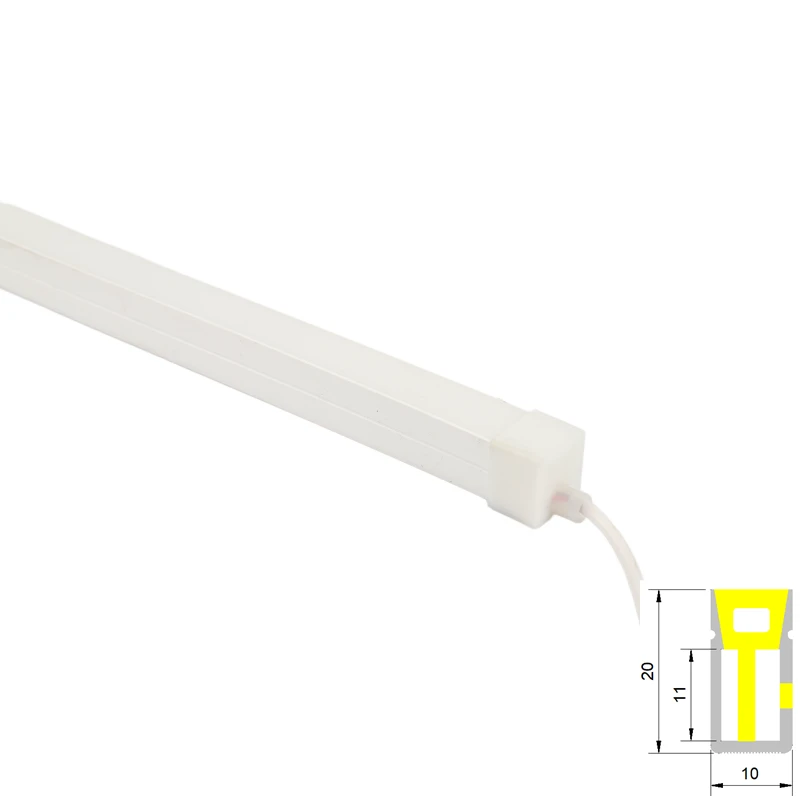
Step 6: Connect the Controller
If you're using a controller, connect it to the power supply and the neon strip. Follow the instructions that come with the controller to pair it with the strip. Once it's paired, you can start using the remote to control the colors and effects of the neon strip.
Troubleshooting
Sometimes, things might not go as smoothly as planned. Here are some common problems and how to fix them:
- Dim or Flickering Lights: This could be due to a loose connection. Check all the connections between the neon strip, power supply, and controller. Make sure everything is plugged in securely.
- Wrong Colors or No Colors: If the colors are not showing up correctly or there are no colors at all, check the controller settings. Make sure it's paired correctly with the strip and that the settings are set to the right mode.
- Strip Not Sticking: If the double - sided tape or mounting clips are not holding the strip in place, clean the surface of the door frame again and try using a different type of adhesive.
Enhancing Your Lighting Setup
Once you have your RGBW neon strip installed on the door frame, there are some ways you can enhance the lighting setup. You can use the controller to create different lighting scenes, like a fading effect or a strobe effect. You can also sync the lighting with music using a music - sync feature if your controller has it.
If you want to take it to the next level, you can install multiple neon strips on different door frames or around a room. This will create a more immersive lighting experience.
Contact Us for a Quote
If you're interested in purchasing an RGBW neon strip or have any questions about the installation process, feel free to reach out to us. We're always here to help you with your lighting needs and can provide you with a quote based on your requirements. Whether you're looking for a single strip for your home door or a bulk order for a commercial project, we've got you covered.
References
- LED Lighting Basics: A Guide to Understanding and Choosing the Right Lighting. Published by Lighting Industry Association.
- DIY LED Installation Handbook. Written by a team of experienced lighting technicians.
So what are you waiting for? Go ahead and give your door frame a cool, colorful upgrade with our RGBW neon strips!


