


As a supplier of Free Cut COB Strips, I often get asked whether it is easy to install these innovative lighting solutions. In this blog post, I'll delve into the installation process of Free Cut COB Strips, exploring the factors that contribute to its ease or complexity.
Understanding Free Cut COB Strips
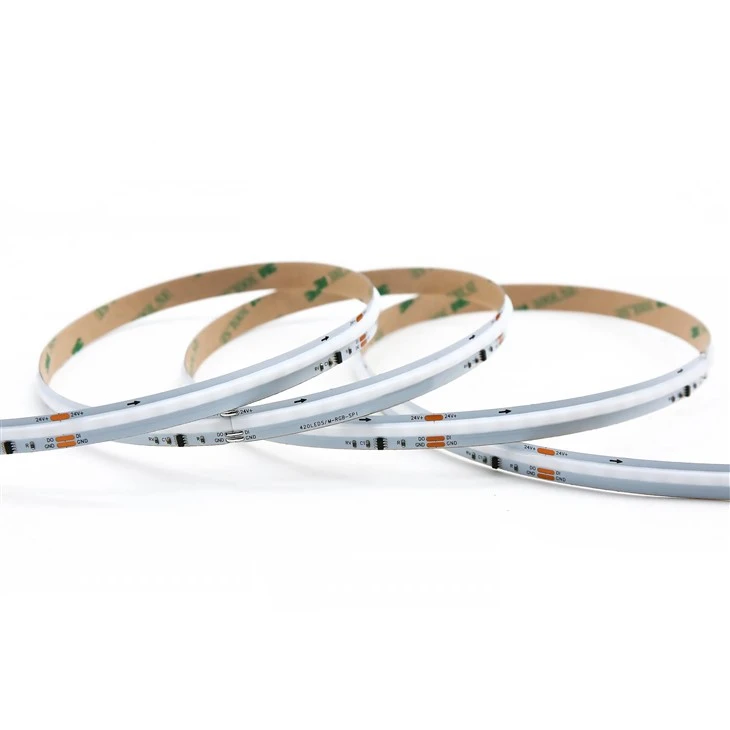
Before we discuss the installation, let's briefly understand what Free Cut COB Strips are. COB, or Chip-on-Board, technology involves mounting multiple LED chips directly onto a substrate, resulting in a high - intensity, uniform light source. Free Cut COB Strips are unique in that they can be cut at any point along the strip, offering great flexibility in customizing the length according to the specific lighting requirements of a project.
Our company offers a variety of COB strips, such as COB Strips 528leds Cuttable, Pixel COB Strips 576RGB Black, and Digital COB Strip RGBW WS2814. These products come with different features and specifications, suitable for various applications like decorative lighting, architectural lighting, and stage lighting.
Factors Contributing to Easy Installation
1. Flexible Cutting
One of the most significant advantages of Free Cut COB Strips is their ability to be cut at any point. Traditional LED strips usually have marked cutting points, and cutting them at other places may damage the strip. However, with Free Cut COB Strips, you can trim the strip to the exact length you need without worrying about specific cutting marks. This feature simplifies the installation process, especially when dealing with irregularly shaped spaces or when you need a non - standard length.
2. Adhesive Backing
Most Free Cut COB Strips come with a strong adhesive backing. This makes it easy to attach the strip to different surfaces, such as walls, ceilings, or furniture. You simply need to peel off the protective film on the adhesive side and stick the strip to the desired location. The adhesive is designed to provide a long - lasting hold, ensuring that the strip stays in place even in challenging environments.
3. Plug - and - Play Design
Many of our Free Cut COB Strips are designed with a plug - and - play system. This means that you can easily connect the strip to a power source or a controller without the need for complex wiring. The connectors are usually pre - installed, and all you have to do is match the connectors and plug them in. This significantly reduces the installation time and makes it accessible for those without extensive electrical knowledge.
Steps for Installing Free Cut COB Strips
Step 1: Planning
Before you start the installation, it's crucial to plan the layout of the COB strips. Measure the area where you want to install the strips and determine the required length. Consider the power source location and the overall lighting effect you want to achieve. Make sure to leave enough space for any additional components such as controllers or splitters.
Step 2: Cutting the Strip
Once you have planned the layout, use a sharp pair of scissors or a utility knife to cut the Free Cut COB Strip to the desired length. Be careful to make a clean cut to ensure proper electrical contact. If you are cutting multiple strips, label them to avoid confusion during the installation process.
Step 3: Surface Preparation
Clean the surface where you will be attaching the strip. Remove any dust, dirt, or grease using a clean cloth and a mild cleaning solution. A clean surface will ensure better adhesion of the strip.
Step 4: Attaching the Strip
Peel off the protective film from the adhesive backing of the COB strip. Carefully align the strip with the planned layout and press it firmly onto the surface. Start from one end and work your way to the other, making sure there are no air bubbles or wrinkles.
Step 5: Connecting to the Power Source
Connect the cut end of the COB strip to the appropriate power supply or controller using the provided connectors. Make sure the polarity is correct to avoid any electrical issues. If you are using a controller, follow the manufacturer's instructions to program the lighting effects.

Potential Challenges
While the installation of Free Cut COB Strips is generally easy, there are some potential challenges that you may encounter.
1. Electrical Safety
Although the plug - and - play design makes it easier to connect the strips, it's still important to follow basic electrical safety precautions. Make sure the power is turned off before making any connections. If you are not familiar with electrical work, it's advisable to consult a professional electrician.
2. Heat Dissipation
COB strips generate heat during operation, and proper heat dissipation is essential to ensure their longevity. When installing the strips, make sure there is enough ventilation around them. Avoid covering the strips with materials that may block the heat, as this can lead to overheating and reduced performance.
3. Complex Lighting Effects
If you want to achieve complex lighting effects using a controller, you may need to spend some time learning how to program the controller. Different controllers have different interfaces and programming methods, so it's important to read the user manual carefully.
Conclusion
In general, installing Free Cut COB Strips is relatively easy, thanks to their flexible cutting, adhesive backing, and plug - and - play design. With proper planning and following the installation steps, you can achieve a beautiful and functional lighting solution. Whether you are a DIY enthusiast or a professional installer, our Free Cut COB Strips offer a convenient and cost - effective way to enhance the lighting of your space.
If you are interested in our Free Cut COB Strips or have any questions about the installation process, feel free to contact us. We are always ready to provide you with professional advice and support. Let's work together to bring your lighting ideas to life!
References
- LED Lighting Handbook, various authors
- Manufacturer's product manuals for COB Strips 528leds Cuttable, Pixel COB Strips 576RGB Black, and Digital COB Strip RGBW WS2814.


